
Basic PenTesting using Metasploit WebUI
Pen Testing:-
Many a times we have to find weaknesses in networked systems that arise due to a lack of applying critical patches. In cases like these we can use Pen testing tools to quickly find vulnerabilities like these. Metasploit is a Pen testing framework that offers a wide array of penetration testing tasks in an automated way. Metasploit also has an easy to use Web user interface that helps beginner users to extract a large percentage of its potential easily.
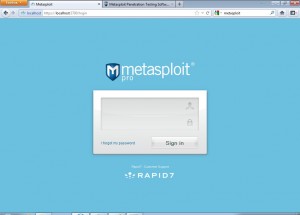
Metasploits WebUI login panel looks like the following.
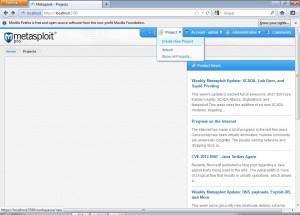
After we login using our credentials we get the following screen, wherein we can create new projects.
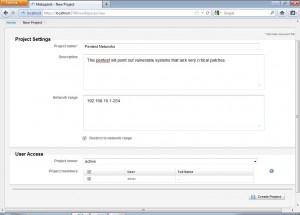
When we create a new project, Metasploit asks us to input the project settings.
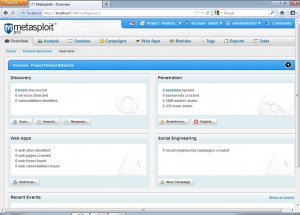
Once we create the project, we will get the following screen that shows us the options that metasploit supports.There is a discovery module that provides a basic scan option that is a combination of different operations aimed at discovering systems in a network and also the nexpose scan option which if installed and configured performs a fully featured vulnerability scan of the target network, a Web Apps module to perform a basic web application penetration testing, a Social Engineering module to perform campaigns against targeted systems and a Penetration module that performs a fully blown penetration testing of the target network.
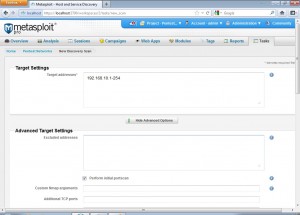
After we click the basic scan option from the discovery module we get the following screen.
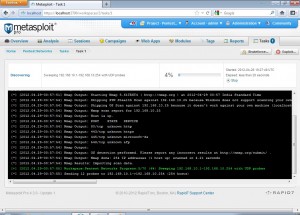
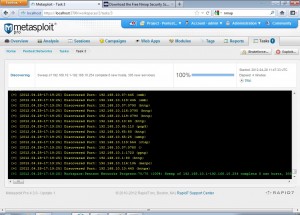
We can set these scan settings as per our use. Advanced users can use advanced settings to tweak the scanning further. After launching the scan we get a screen like the following.
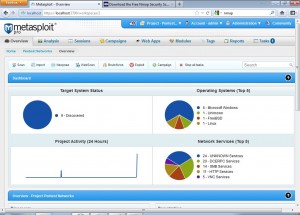
After the scan is finished we can take a target network overview which shows us number of alive systems within the network, different operating systems within the network and also the network services found running.
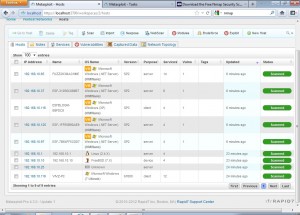
All alive hosts can be checked by navigating to Analysis->Hosts tab
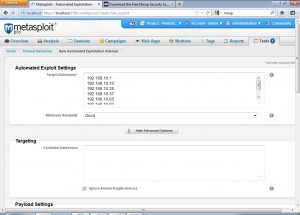
Again we can go to the main page for the project and click on exploit to get to the following page. Advanced users can tweak various exploitation settings.
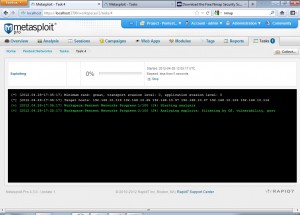
Once we launch the exploitation, we see a screen like the following
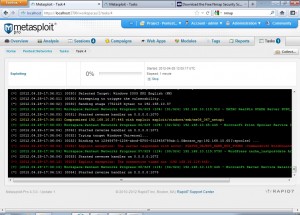
All the hosts compromised during the exploitation process are highlighted in yellow. The exploit used to compromise the host is also shown with the host.
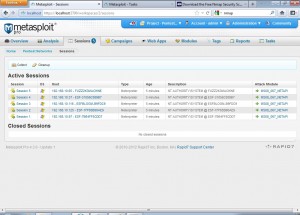
After the exploitation process has completed, we get the following screen if a host is compromised. Different sessions are opened for different hosts that are compromised using a specific exploit.
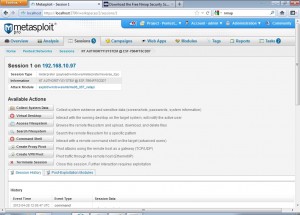
Clicking on a session brings us to the following screen which has a lot of options we can use to perform certain tasks on the compromised system.
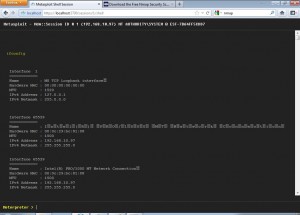
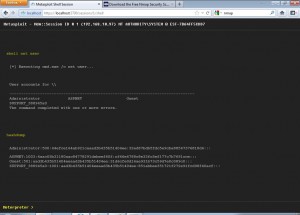
Opening a command shell on the compromised system shows us a console like the following.
We can now use this to run whatever commands we want to run.
This was a brief usage of Metasploit WebUI.
"eSecForte is the authorized distributor/reseller of Metasploit Professional and Nexpose in India (Rapid7 Products), Nepal, Bangladesh, Sri Lanka"

